Topography 3D
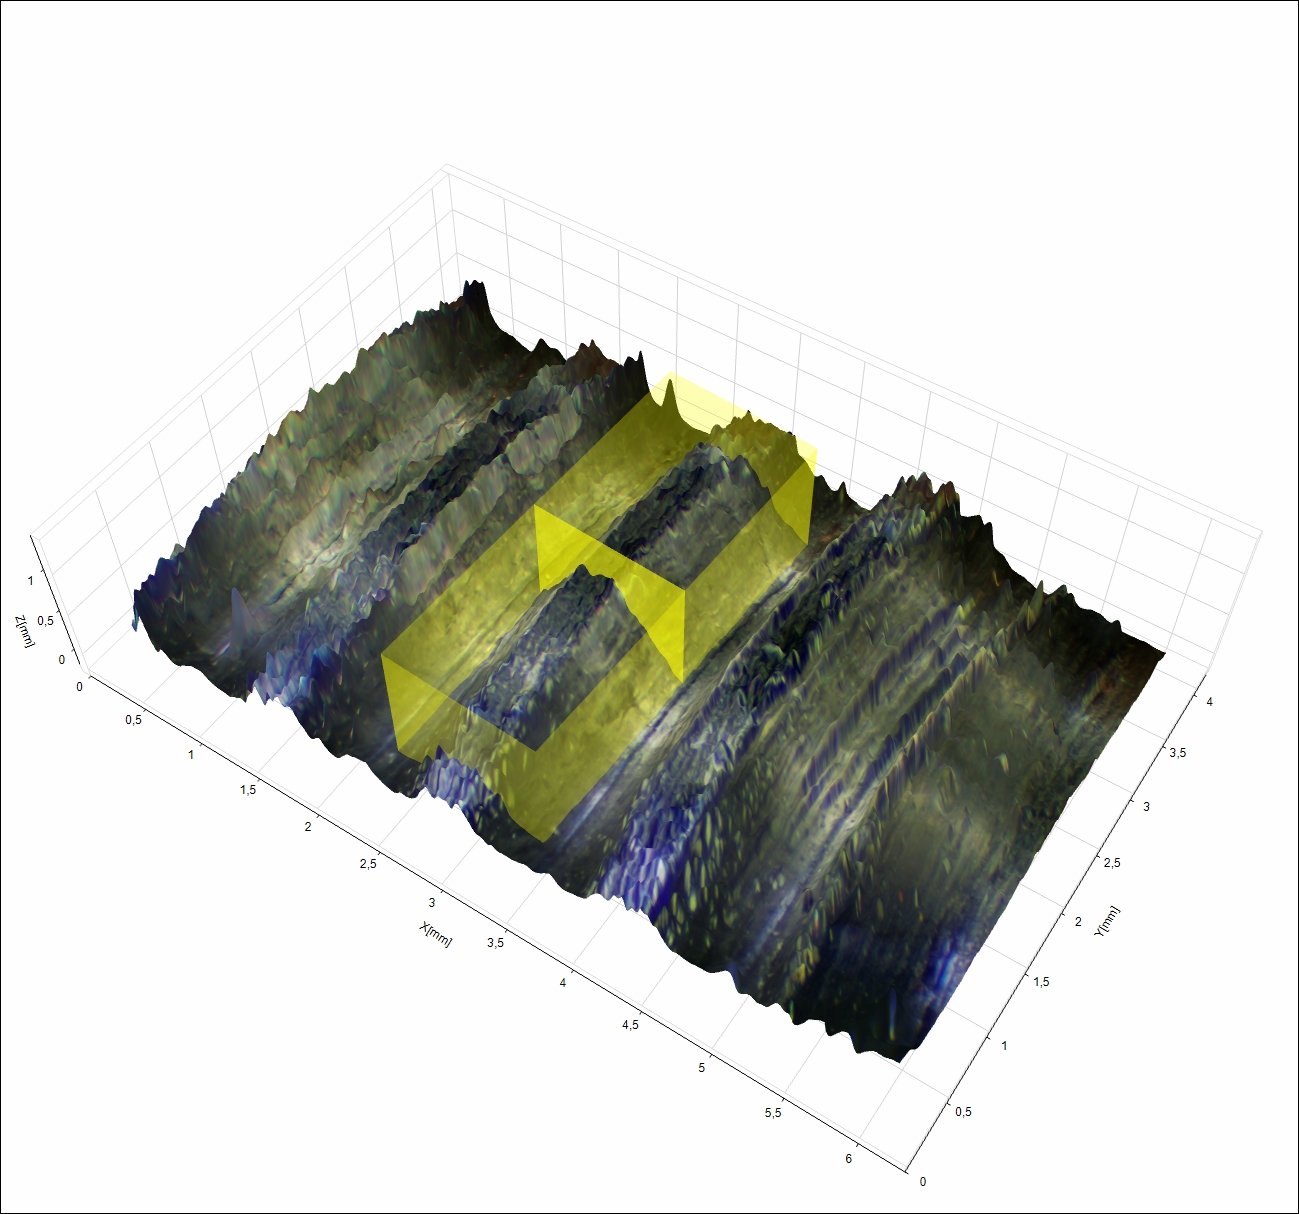
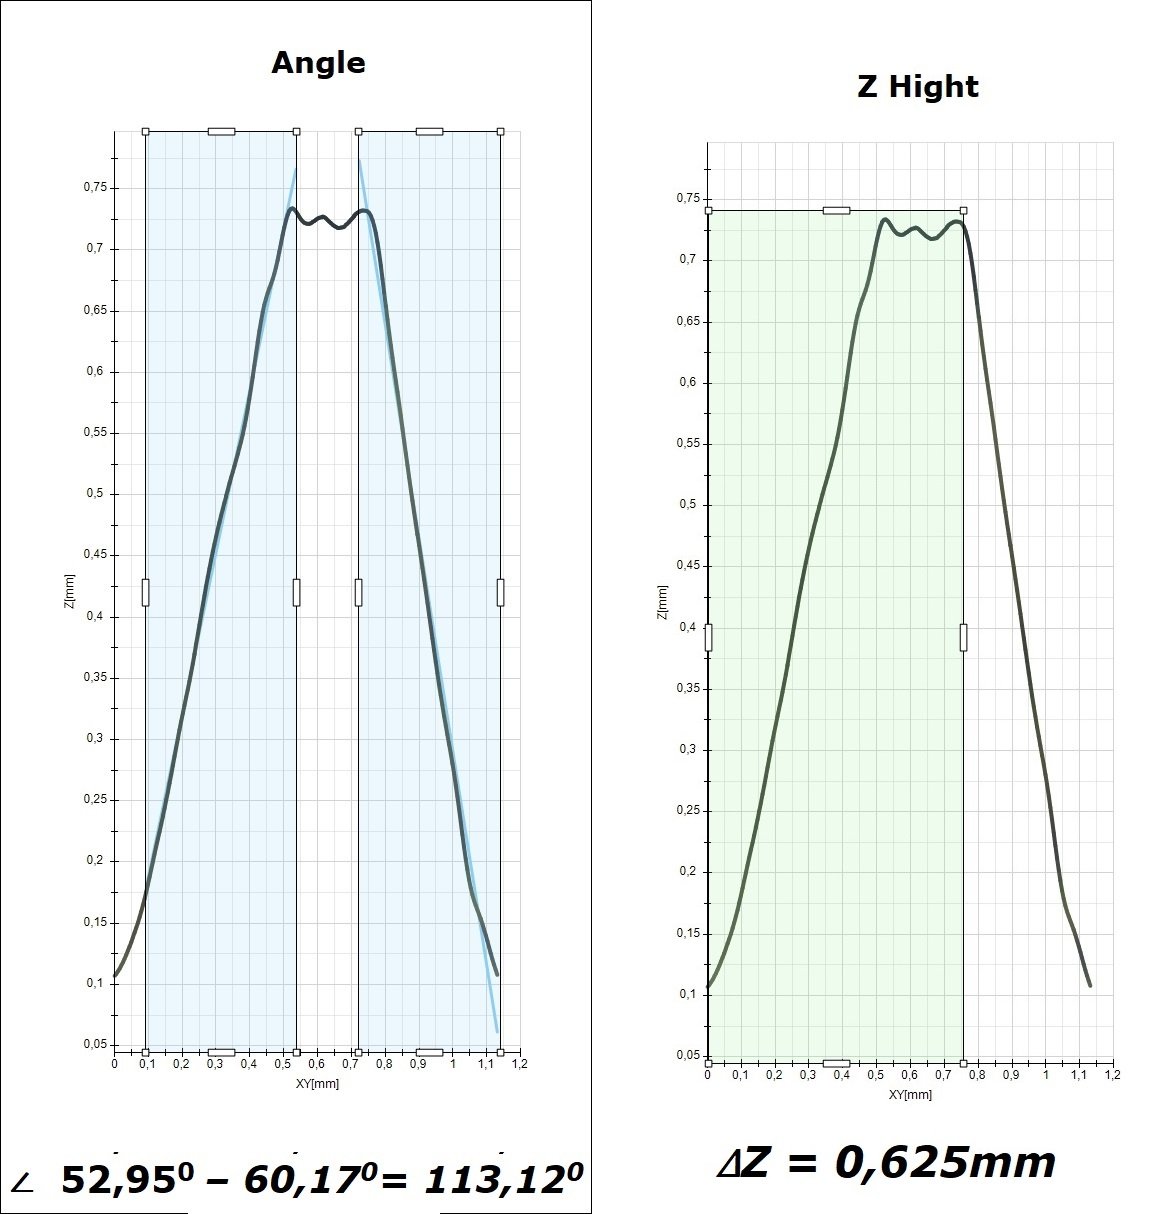
Both manual and automatic topography imaging is possible. The topography function can combine images at different focus levels into one single 3D image in order to give a full analysis of the surface of the object.


Roughness Measurement
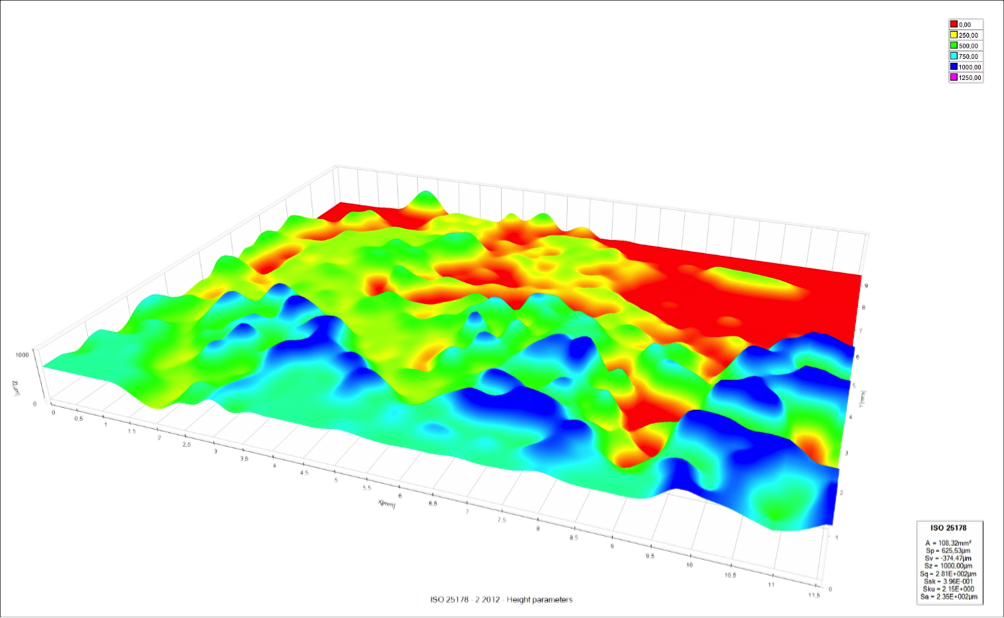
DeltaPix InSight offers a non-contact roughness measurement according to guidelines of ISO 25178-2:2012.
The software can be applied in various applications where surface textures need to be analyzed. The implementation of surface roughness measurement is based on the data collected from topography analysis thus the need for a third party adds on software is eliminated for most applications.
The data shown in a panel in the lower right corner is the results of the Roughness 3D calculations.
Sq: Root mean square height of the surface
Ssk: Skewness of the surface
Sku: Kurtosis of the surface
Sp: Maximum peak height of the surface
Sv: Maximum pit height of the surface
Sz: Maximum height of the surface
Sa: Arithmetical mean height of the surface
The corresponding 2D parameters can also be calculated.
Rq: Root mean square height over the evaluation length.
Rsk: Skewness over the evaluation length.
Rku: Kurtosis over the evaluation length.
Rp: Maximum peak height over the evaluation length.
Rv: Maximum pit height over the evaluation length.
Rz: Maximum height over the evaluation length.
Ra: Arithmetical mean height over the evaluation length.
Additionally, The ISO 25178-2 volume parameters (aka. Bearing ratio curve parameters) can be calculated. These parameters are based on the Abbott-Firestone curve. This includes the
Vmp, Material peak volume
Vmc, Material core volume
Vvc, Void core volume
Vvv. Void valley volume
The roughness parameters are easily exported to an Excel spreadsheet along with rendered 2D/3D images.

